Spaces and venues: seats and zones
When your event is not open seating but assigned seats —a theatre, an auditorium, a dinner with tables— you need a venue: the floor plan with its zones, rows and seats. You design it once here and reuse it across as many events as you like.
This guide uses a sample venue, "Auditorio Metrópoli", with a numbered stalls and balcony and a general standing area.
The four pieces of a venue
Venue
The complete layout of the room. Reused across events.
Zone
A part of the venue: stalls, balcony, boxes… or a standing area.
Row
Inside a numbered zone. In table zones, the row is the table.
Seat
The specific place. At tables, the chair.
A zone can be numbered (with specific rows and seats) or standing (no seats, just a maximum capacity). A single venue combines whichever ones you need.
1. Your venues
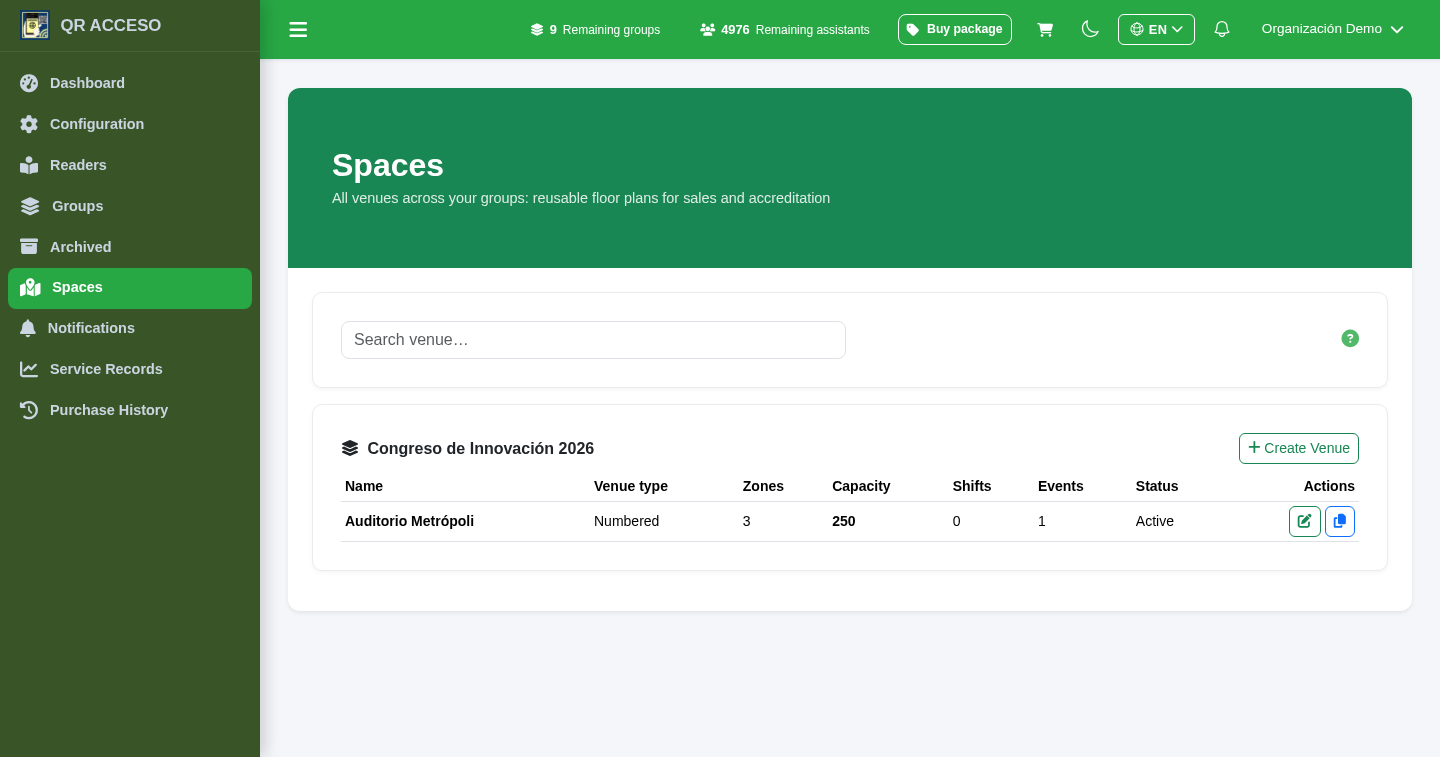
In Spaces you see all the venues across your groups. They are reusable layouts: the same venue works both for ticket sales and for assigning accreditations.
- Each venue shows its type, number of zones, total capacity, and how many events it is used in.
- With Create venue you start a new one; with the pencil you edit it; and you can duplicate a similar one so you don't start from scratch.
2. Designing the venue
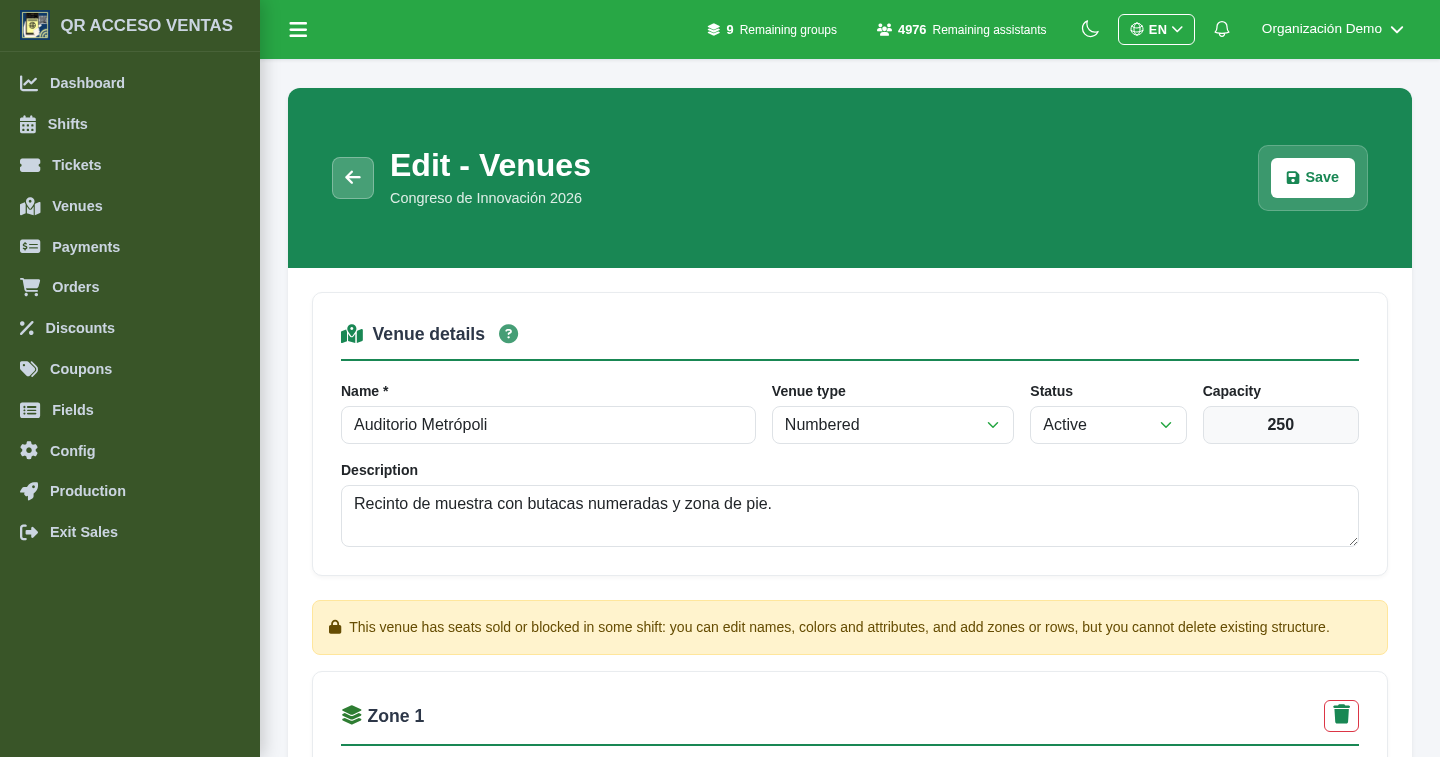
The editor has the venue details at the top (name, type and capacity) and its zones below, which you add and reorder.
- For a numbered zone: create its rows (A, B, C…) and set how many seats each one has. The capacity is calculated automatically.
- For a standing zone: you only set the maximum capacity, with no seats.
- Each zone can have its own color, to tell them apart on the plan.
- You can mark seats with attributes (for example, reserved or not for sale).
If a venue already has seats sold, the editor lets you tweak names, colors and add places, but it protects the structure so no one who already bought a seat is left without one.
3. Assigning seats to your assistants
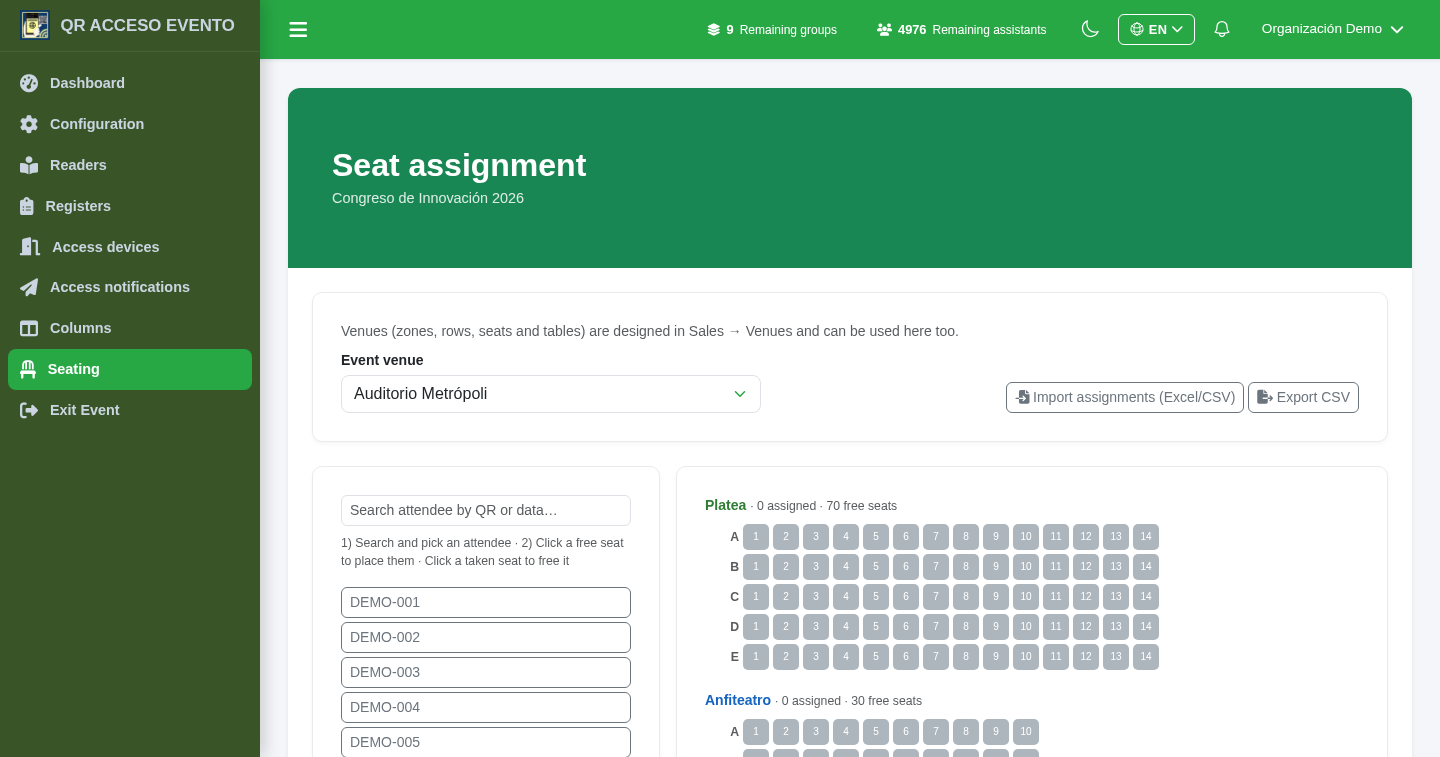
With the venue ready, from Spaces inside the event you place each person in their seat. It is as simple as choosing someone and tapping the place.
- Search for the assistant by their QR or their details and tap a free place to seat them.
- Tap an occupied place to free it up.
- Each zone shows how many places are assigned and how many are free.
- You can import the assignments from an Excel or CSV file, and export them.
Want to try QRACCESS at your next event?
Create an account and design your first venue from the web control panel.
Control panel: https://control.qraccess.com